Deciding between DIY and professional installation for partial vehicle wraps involves weighing costs, time, and expertise. Aim for DIY to save labor costs, but be ready for a time investment and potential issues. You'll need tools like a heat gun and squeegee, and working in ideal conditions is essential. A professional guarantees a flawless finish but expect higher costs. They're quick, often finishing in hours, and offer warranties for peace of mind. Discover more tips and methods ahead!
Key Takeaways
- DIY installation is cost-effective but time-consuming, requiring $300-$800 in materials and several days for inexperienced installers.
- Professional installation costs over $1,500 but ensures a flawless application, saving time and reducing potential errors.
- Essential tools for DIY include a heat gun, squeegee, and air release tool, with a well-lit, 70-80°F workspace.
- Wet application method is beginner-friendly for flat surfaces, while dry method requires skill and is suited for larger areas.
- Professional services offer warranties and custom designs, ensuring alignment with business branding goals for partial wraps.
Evaluating Cost and Time for Partial Wraps
When considering whether to DIY or hire a professional for your partial wrap installation, it's important to evaluate both cost and time. DIY installation may seem appealing since you can greatly save on labor, a major expense in the wrapping process. The cost of materials alone ranges from $300 to $800, allowing vehicle owners more budget flexibility. However, the time investment can be substantial. Inexperienced installers might spend several days, potentially encountering issues that demand reordering materials or acquiring specialized tools, which can inflate costs and delay completion.
Conversely, opting for professional installation guarantees a quicker turnaround, typically from a few hours to a couple of days. This efficiency means your vehicle is back on the road, advertising your business faster. While the cost can exceed $1,500 due to design complexity and vehicle size, professionals' expertise alleviates many potential issues, making it a worthwhile investment for those prioritizing time and precision.
Considerations for DIY Partial Wrap Installation
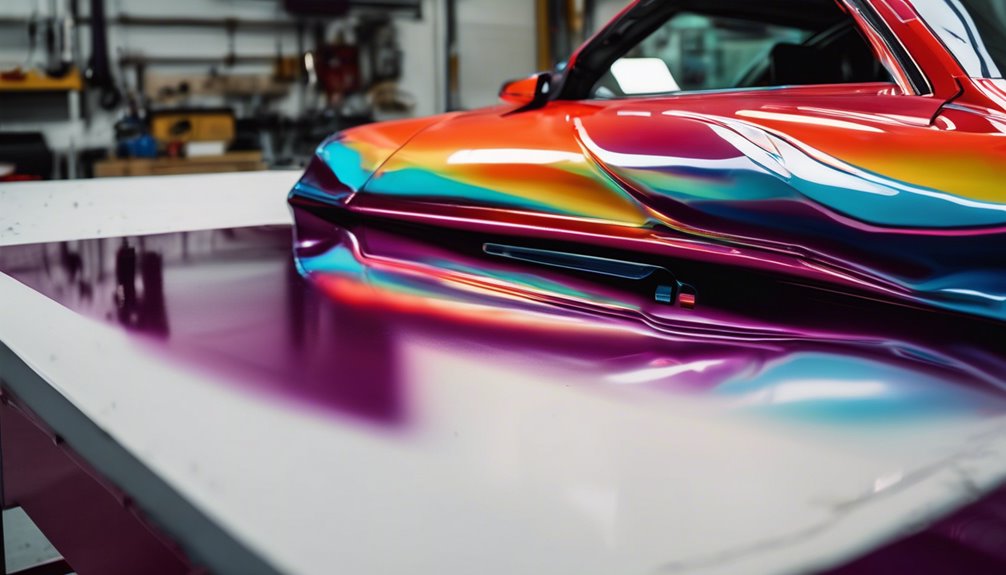
Starting on a DIY partial wrap installation can be both rewarding and challenging. Before diving in, make sure your vehicle's surface is impeccably clean using isopropyl alcohol and a clay bar. This vital surface preparation step prevents air bubbles and guarantees proper adhesion of the vinyl wrap. When considering your budget, weigh the pros and cons of investing in essential tools. You'll need a heat gun for smoothing, a squeegee for pressure application, and an air release tool to tackle any pesky bubbles.
For the wrap application, using the wet wrap method might be tempting for beginners, allowing repositioning. However, avoid it on curved surfaces or areas with rivets to prevent complications. Create an ideal environment by working in a well-lit space with temperatures between 70-80 degrees Fahrenheit. Remember, proper care and patience are key, as errors can lead to peeling, paint damage, and reduced lifespan of your wrap.
Benefits of Professional Installation for Partial Wraps
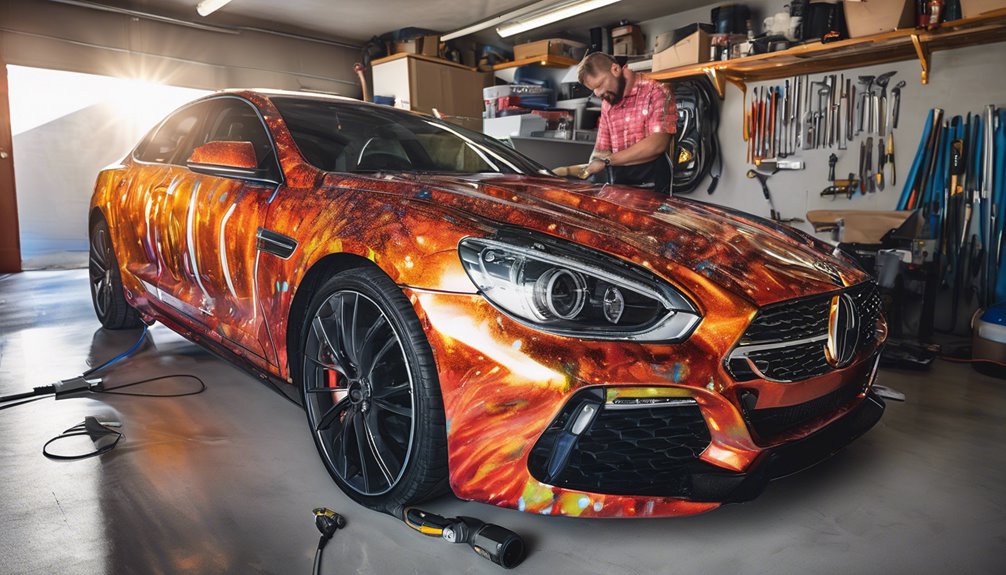
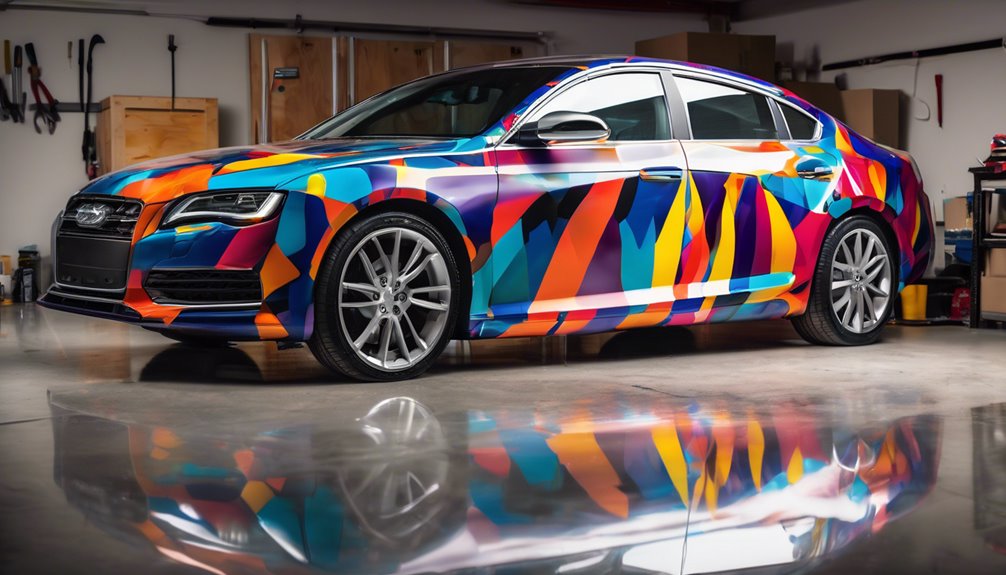
Although tackling a partial wrap installation yourself can be tempting, opting for professional installation offers significant advantages. With expert handling, professionals guarantee a flawless application on your vehicle's curves and creases, minimizing bubbles, wrinkles, and misalignments. This expertise not only enhances the durability of partial wraps but also extends their longevity, often surpassing five years, unlike many DIY attempts.
Professional installation provides access to specialized tools and techniques, guaranteeing high-quality results and protecting your vehicle's paint. Custom graphics designed by experts align with your marketing goals, offering maximum impact for business branding. Plus, satisfaction guarantees and warranties give you peace of mind.
Time efficiency is another key benefit; professionals complete installations quickly, allowing your business to achieve the desired vehicle appearance with minimal downtime. By choosing professional installation, you're investing in a long-lasting, visually stunning wrap that truly reflects your brand.
Wet vs. Dry Application Methods for Partial Wraps
If you're considering partial wraps, understanding the differences between wet and dry application methods is fundamental. The wet application method involves using a fluid to reposition the vinyl wrap during installation, making it ideal for flat surfaces on your vehicle. It's forgiving for beginners, reducing creasing and bubbling, and is perfect for smaller graphics, especially on glass. On the other hand, the dry application method offers immediate adhesion upon contact, demanding a higher skilled level. This method is faster and cleaner, suited for larger surface areas. However, caution is necessary as improper handling might damage the paint if the vinyl contacts the substrate too early.
Both methods require ideal installation conditions: a temperature between 70-80 degrees Fahrenheit and low humidity to guarantee proper adhesion. Choose a method that aligns with your experience, project size, and the specific surface of your vehicle to achieve the best results.
Tools and Conditions for Successful Partial Wrap Installation
Understanding the right application method is important, but having the correct tools and conditions for your partial wrap installation is equally essential. Key tools like a squeegee, air release tool, razor knife, and isopropyl alcohol guarantee that your vinyl wrap installation goes smoothly. Cleaning the surface properly with a solvent and lint-free towel enhances vinyl adhesion.
Guarantee ideal conditions by maintaining a temperature range of 70-80°F and working indoors to avoid dust and sunlight. High humidity can hinder the wrap installation process, so keep your environment controlled for the best results. Proper storage of vinyl is critical; keep it vertical and away from heat sources to maintain its quality.
| Essential Tools | Ideal Conditions | Storage Tips |
|---|---|---|
| Squeegee | 70-80°F Temperature | Store vinyl vertically |
| Air Release Tool | Indoors, dust-free area | Avoid heat sources |
| Razor Knife | Low Humidity | |
| Isopropyl Alcohol | Clean, dry surface |
Frequently Asked Questions
Can You Install Vinyl Wrap Yourself?
Yes, you can install vinyl wrap yourself. Consider vinyl tools and installation tips for successful application. Plan your design, choose high-quality materials, and prepare surfaces properly. Avoid common mistakes like poor stretching techniques to guarantee durability and simplify removal.
Can You Do a Partial Wrap on a Car?
You can apply a partial wrap, offering diverse vinyl wrap types and color choices. Enjoy benefits like cost comparison and design options. Consider installation tools, durability factors, and maintenance tips. Weigh DIY challenges against professional services.
What Is the Best Vinyl Wrap for Beginners?
Did you know 70% of beginners prefer cast vinyl wraps? They're easy to reposition and offer various color options. Focus on adhesive quality, proper surface preparation, and use tools like squeegees to guarantee durability and ease in application.
Is It Better to Wrap Vinyl Wet or Dry?
When wrapping vinyl, wet application advantages include easier repositioning, while dry application benefits offer speed. Compare installation techniques: consider adhesive properties, temperature, humidity effects, and surface preparation tips. Avoid common mistakes for ideal vinyl longevity and maintenance.